Painting a graphic wall design is a fun low-cost way to add a whole new dimension to your room. See below for a step-by-step guide to painting graphic designs.
Materials required
masking tape or painter’s tapemeasuring tapeleveladjustable T-squarepencil and paperlatex paintrollerpaint traytarp or drop cloth
How to paint graphic designs
- Repair any holes and dents in the wall you want to paint. Remove outlet covers and wall plates. Protect furnishings with a drop cloth.
- Sketch a rough pattern of your design on paper.
- Frame around the surface to paint with tape.
- Place tape on wall to create your design. Use your level and T-square to create nice straight lines and angles.
- Step back to get an overall view of your pattern and check if it matches your sketch. It’s important to visualize the negative space versus the painted sections to make sure your design is in balance.
- Make any necessary adjustments with your tape before painting.
- Using the roller, apply at least 2 coats of paint to obtain the desired colour.
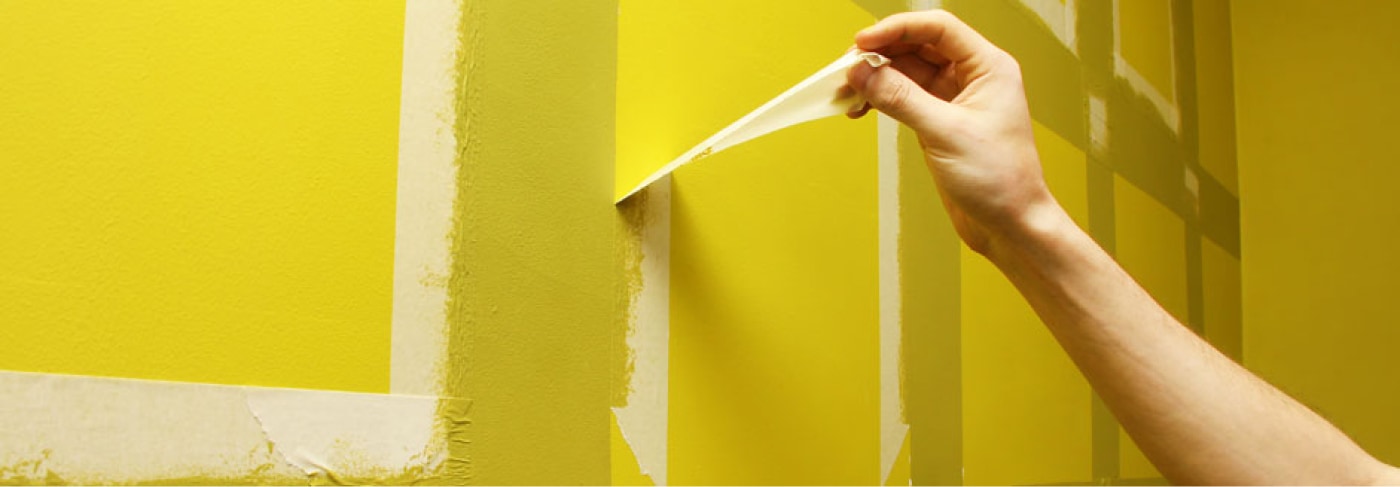
- Remove the tape once the paint is dry.
- Add some matching or contrasting accessories for a whole new look!
Tips and tricks
- Use quality tape to prevent unpleasant surprises when removing it.
- When placing the tape, run your fingers over it to make sure it adheres well to the wall. This will prevent seepage and drips, and never ending touch-ups!
- Remove tape right after last coat of paint has been applied. If you wait too long the paint will come off with the tape!
- Always apply at least 2 coats of paint.
- Allow surface to dry at least 20 days. This will make sure the paint reaches its maximum hardness and prevent your accessories from sticking to it.
